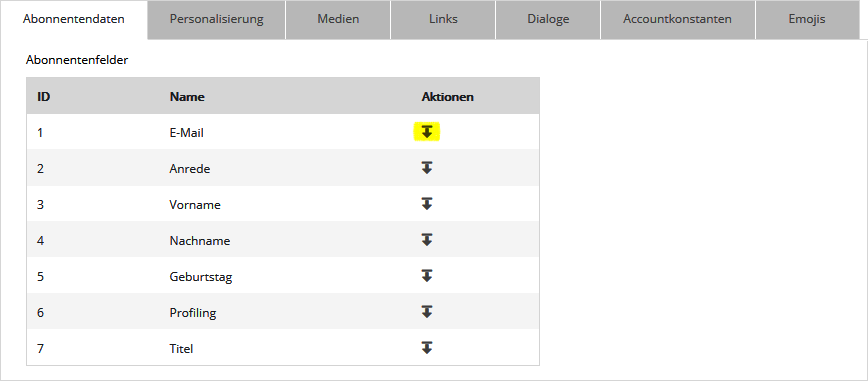
E-Mail: Inhalt erstellen mit Template
{alt}
|
This help page describes the Newsletter Editor in versions 1 and 2. Here you switch to the editor V4 help or check your currently used editor version. If you have selected an email template when creating your mailing, you can easily compose the structure and content of your email on the 'Content' tab. Besides the HTML part, the text part of your mail will be created automatically. If you have not selected a template (see 'Inhalt erstellen ohne Template'), the tabs 'HTML' and 'Text' will appear instead, or depending on the selected format (default setting: multipart format) only one of the two tabs. Here you can create the HTML code and text part of your mailing manually. If you are new to Ideenfabrik Mailingwork, please skip the following section. It is intended only for users who have been working with Ideenfabrik Mailingwork for a long time.
Newsletter-Editor V1 or V2?When creating your mailing, you have the choice between version 1 and version 2 of the integrated newsletter editor. If this selection option is enabled in your ###system_name## account, then you will find the 'switch to new editor' button above your mailing on the right. As a rule, the new editor is the better choice, because it has two decisive advantages:
The only exception: If one of your mailing templates was equipped with the special functions 'Fill content via RSS feed' or 'Article import from OXID eShop', the new editor is currently not yet available for their editing. In this case Ideenfabrik Mailingwork will automatically open the previous editor without the possibility to switch to the new editor. Switching between previous and new editorIn the menu 'Modules' --> 'Templates' --> 'Email' you can define for the selected template whether the old (version 1) or the new editor (version 2) should be displayed first in the basic setting. The corresponding option can be found in the dropdown box 'Open with editor version':
If version 2 is selected, all designs based on this template are opened with the new editor, including all existing designs that use this template. The last selected editor version applies in each case. Regardless of this, you can also switch between the old and new editor directly in the design view at any time:
'Content' tab: The new editorThe screen layoutThe design view consists of four areas, from left to right:
The four screen areas in detail: |
||||||
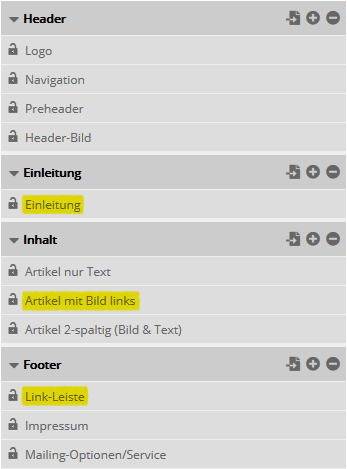
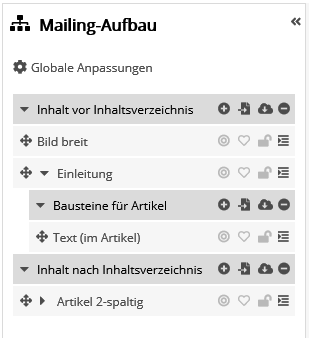
--> The Element treeIn the element tree (far left) you define the structure of your email, depending on the selected design template. A design template consists of containers (dark background color in the element tree). These are fixed in the template (e.g. preheader, logo, content, footer) and cannot be changed in their order. Within a container, elements (light background color in the element tree) can be inserted in any order. For example, the "Content" container can be filled with different items. Which elements are available in which container is also defined in the design template.
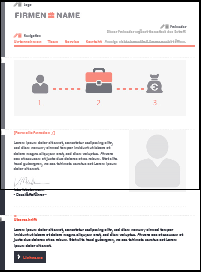
--> Note: By default, after inserting a new element, the overall view of the email draft is displayed again. Alternatively, it is possible to switch to the edit view of the new element immediately after adding it. The default behavior can be selected in the menu at the top of the screen: 'own settings' --> 'system settings' --> 'behavior after creating new elements'. Here you can choose between the variants 'Insert element' and 'Edit element'. The sample template has the following structure:
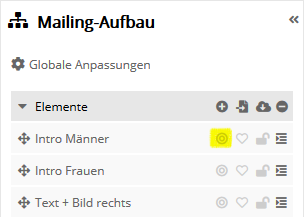
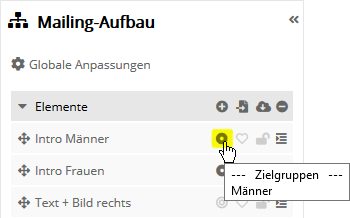
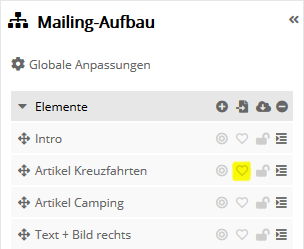
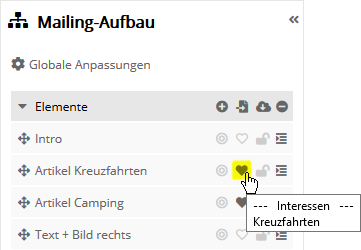
As soon as you move the mouse cursor over the line of a content element, five icons for editing, moving, locking, copying and deleting this element will appear.
--> Note on the changed saving behavior in the new editor:
--> Tip: The width of the element tree window can be enlarged and reduced by dragging the right edge of the element tree window.
--> The design viewThe Draft view displays the draft of your email in its original size. To edit a specific content, either click on the desired element in the element tree (see previous section) or on the corresponding (green) icons directly in the draft view. This will open the edit view of that element. Its possibilities for inserting text, images and links will be explained in the next section Editing content elements: The Edit View.
The window width of the design view can be increased and decreased by dragging the right edge of the window between the mini-view and the media sidebar. --> Tip: As soon as you go below a certain window width while dragging, the draft is automatically displayed in mobile view.
|
||||||
|
--> The mini preview
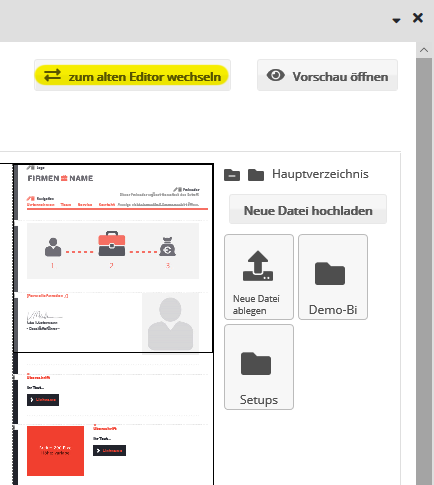
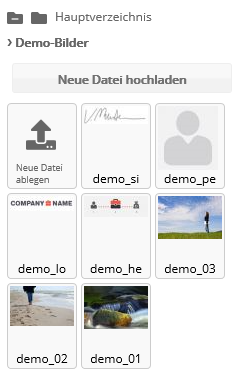
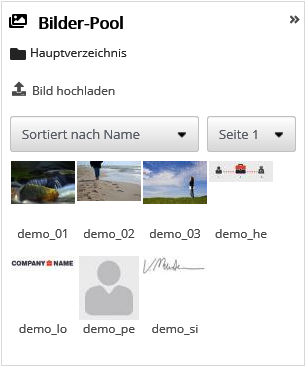
--> The media sidebarOn the right side of the screen, the media sidebar displays all images and folders in your media management. Here you can upload new image files and drag and drop images into
In the navigation bar above the folders, the name of the current folder is highlighted in bold. Click on a folder to display its contents. Click on 'Main folder' to return to the beginning of the folder navigation at any time. The button 'Ignore folder' hides the folder structure and shows all images stored in the media management together, regardless of which folder they are in.
|
||||||
Embed text: Font sizesClick on the 'Change font size' icon (A). The size can be adjusted individually - in whole numbers. The number must always be followed by 'px' (for "pixel").
Example: [SPAN style='font-size:10px']Font size of 10 pixels[/SPAN].
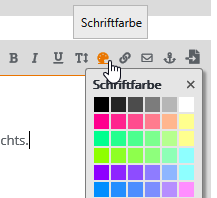
Embed text: Front colorsYou can select font colors using the small button with the brush icon. Simply select the corresponding text and choose a color.
|
||||||
 |
||||||
|
With the placeholder, the colored area will look like this: [SPAN style='color:#ff0000']This will be a red text.[/SPAN] A color table with the corresponding HEX color codes can be found here:
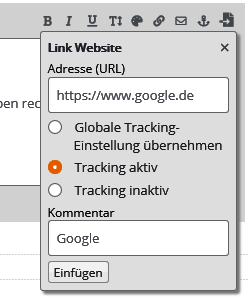
Include linksLinks to websites are inserted using the Link icon Important: Each website link must begin with http:// or https://, i.e. entering "www.google.de" is not sufficient. To make the inserted link evaluable for the statistics, either the default setting 'Apply global tracking setting' must be activated or, if you want to force tracking for this link, the option 'Tracking active'. Optionally, enter a comment as an additional identifier for your link. Different comments allow you to evaluate the clicks separately even if the same link URL is used several times, e.g. whether the recipient clicked on the link to the online store in the article text or in the navigation menu of the mail. What the 'Apply global tracking setting' option does, you set in the 'Advanced settings' of the mailing in the 'Tracking' section. Here, 'Automatic link tracking in HTML part' should be activated. |
||||||
|
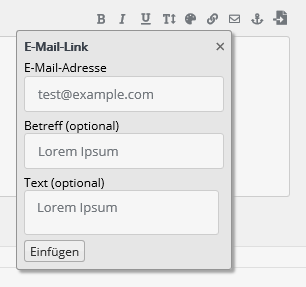
Email links are not tracked, so there is a separate button for this: Here applies: mark the text before again and enter the email address in the dialog.
Example: [LINK mailto='test@Ideenfabrik GmbH.de']Email[/LINK]
|
||||||
 |
||||||
|
Explanation: - tracked link: After the mailing has been sent, you can view the click rates of the recipients in the statistics under the menu item 'Success evaluation'. - Link with comment: The comment is displayed in the statistics instead of the link name. This is clearer for long link paths, for example. Furthermore, it is possible to store a tracking code from your web analysis tool in the advanced settings and Ideenfabrik Mailingwork will automatically include it in all external links contained in the mailing. |
||||||
Style specificationsWith HTML and CSS knowledge, further individual adjustments can also be made using style specifications. There are many possibilities when formatting with CSS styles. You can find the corresponding commands on this free page: [SPAN id='...' class='...' style='...']Text with capital letters[/SPAN]. Now decide if you want to assign an 'id' or 'class' or if you want to write the style information directly into the style attribute. For example, if you want to set a text in uppercase, then use the specification: 'text-transform: uppercase'. It is also possible to combine several specifications. Please use the semicolon (;) as separator. |
||||||
 |
||||||
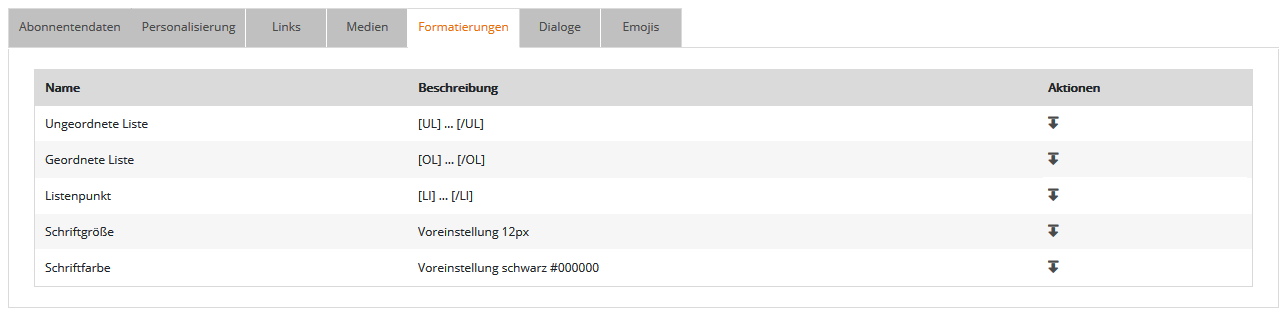
Include lists
If you want to divide a text into list items, proceed as follows: Mark the entire text to be defined as a list with the mouse and select the command 'Unordered list' or 'Ordered list' in the 'Accessibility', ' Formatting' tab. Example: - Unordered list (list with bullet points)
Example: Here, [UL] denotes the beginning of the entire list and [/UL] the end. [LI] is the start of a single list item and [/LI] its end.
Insert images
Click on an image element of your template in the design view, then a pop-up window opens for editing the image details. Use the 'entry helpers' to insert the desired image from your Medienverwaltung or upload a new image by clicking on the 'Upload' button. If the template provides a link to the image, enter the link URL of the image. Important note on image size: Depending on the template, you can specify in the 'Image width' and 'Image height' input fields the size in which the image is to be displayed in the mailing. The size of the image file used in the mailing remains unchanged. Therefore, make sure to reduce especially large image files to the planned display size. The appropriate functions for cropping and reducing the size of the image are available directly in the 'Medienverwaltung'. In the 'Alternative text' field, enter the text that should be displayed instead of the image if, for example, the subscriber has suppressed the loading of images. Finally, click on 'Save'. HTML and text part are generated automatically in case of a template. Insert appendixTo add an attachment to your mailing, proceed as follows:
|
||||||
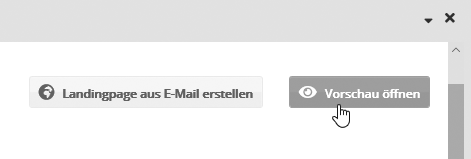
A click on 'Open preview' (top right) opens the personalized preview of your mailing.
The differences between the previous and the new editor are described at the beginning of this page. On the left side you can see the content elements of your mailing. You can edit, delete or insert each element multiple times. Which elements are available is determined by the programming of the selected template.
|
||||||
|
When you open an element, there is no difference between previous and new editor when entering text etc., see section 'Editing content elements: The detail view'. The same applies to the preview. |


{/old} {new}


{/new}