|
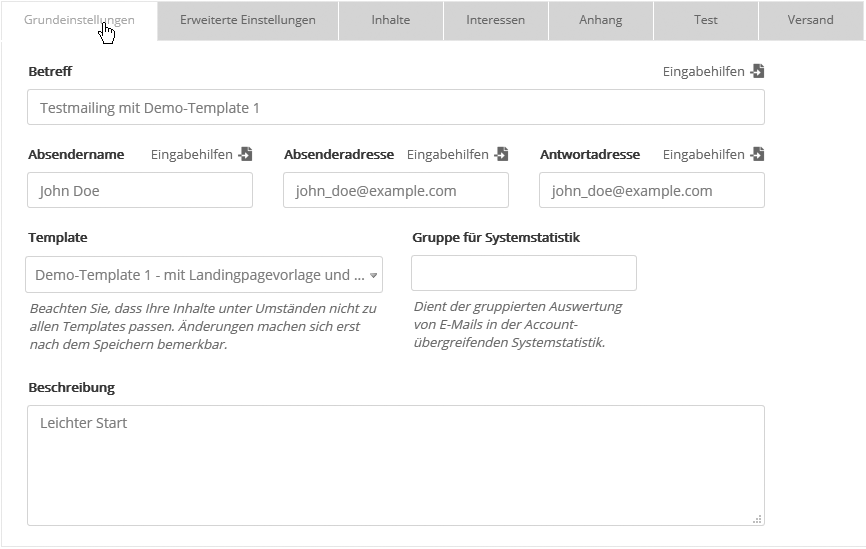
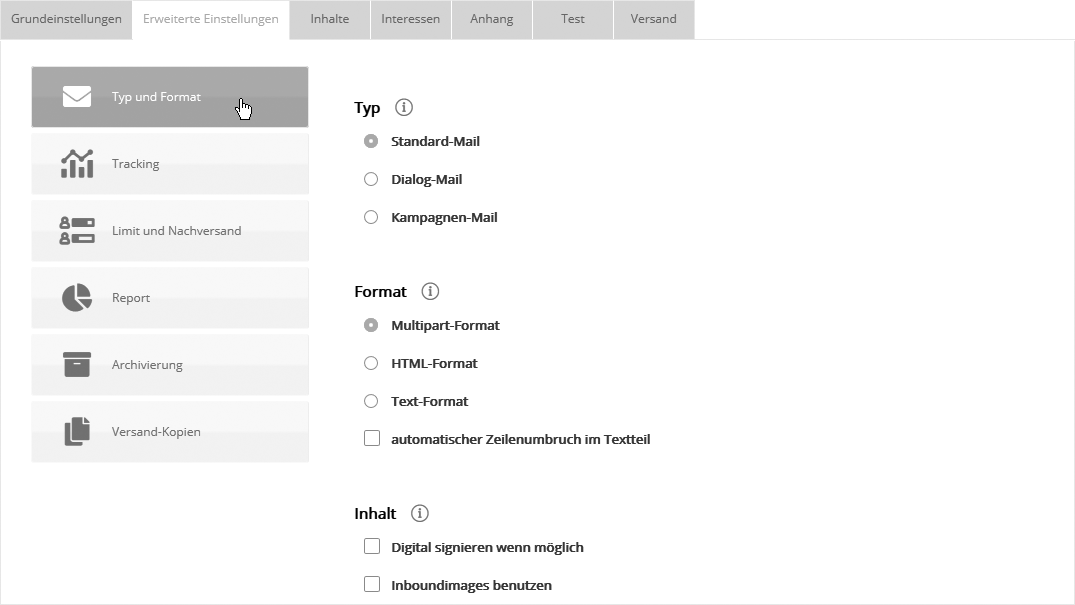
Automatic line break in the text part: Usually, your subscriber's email program is set to wrap lines automatically, depending on the window width when reading the email. With this option, you can force a fixed-line break, for example after 60 characters. The HTML part of your email is not affected by this option.
Content
Inbound images: Inbound images are not activated by default, i.e. the image files used in your mailing are stored on a server and, depending on the settings of your email program, may not be displayed to the reader immediately when the email is opened, but only after clicking "Download images". If you want to force your images to be displayed immediately when the email is opened in any case, activate the 'Inboundimages' option. This will include the image files directly in each individual email and send them along with it. The downside to this is that it significantly increases the amount of data per email sent. Your subscribers might find this annoying. In addition, it could entail a recalculation, e.g. if your mailing is now larger than 100 KB on average.
--> Note: Capturing the open rate via tracking pixel works in any case, regardless of the 'Inbound images' setting, as long as the recipient does not suppress the display of images in his inbox.
Advanced settings: Tracking
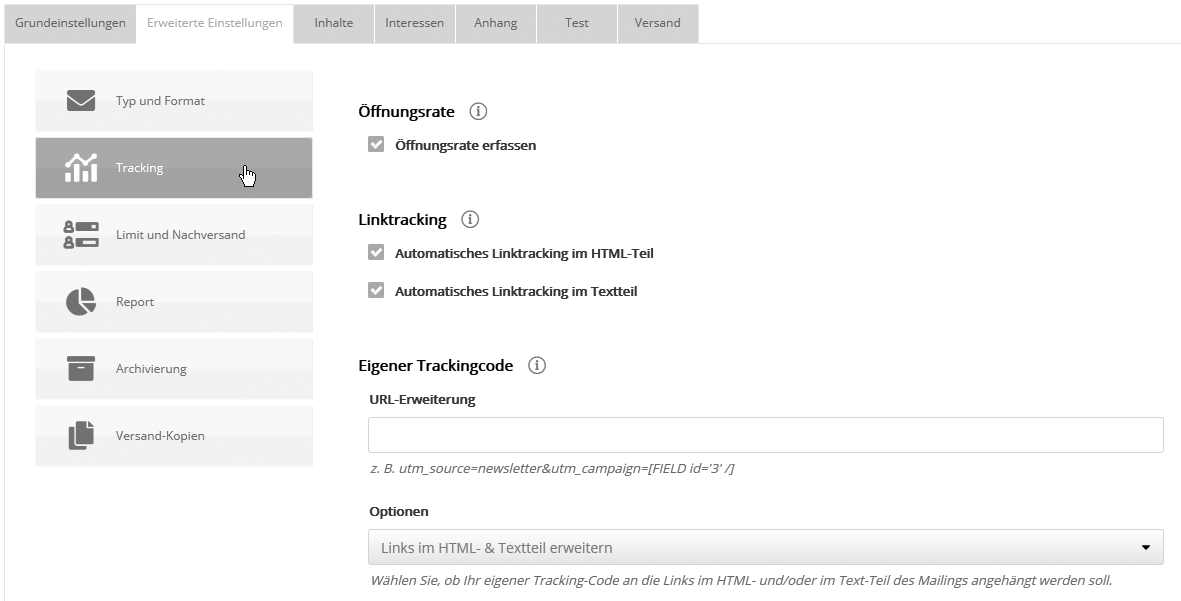
Opening rate
In order to evaluate the percentage of recipients who opened the mailing after it was sent (see 'Übersicht, Öffnungs-/Klickrate'), the option 'Record opening rate' must be activated. For this purpose, Ideenfabrik Mailingwork integrates an invisible tracking pixel in the HTML part of the mailing, which is linked individually for each recipient and whose call is counted as an opening. The measurement works independently of the mailing setting 'Inboundimages' as long as the recipient does not suppress the display of images in his inbox.
Link tracking
If you enable Automatic link tracking in the HTML part, each link contained in the mailing will be replaced by a tracking link individualized for each subscriber. These tracking links are redirected to the original link URL via the ###system_name## server and counted in the process. This allows you to see how many times each link was clicked after the mailing was sent (see 'Übersicht, Öffnungs-/Klickrate'). Furthermore, target groups can be formed based on this, e.g. "All who clicked on link B" can be contacted again with further information. Please note that you have to define each URL as a link beforehand. You can check the correctness of the tracking links by sending yourself a test mailing.
Automatic link tracking in the text part works in the same way as in the HTML part. However, the pure text display leads to a significant difference compared to the HTML part: The link URL changed by the tracking is directly readable in the text. Please decide for yourself whether you want to set this "visible" link tracking or not.
Own tracking code
Here it is possible to automatically add your own parameters to all links of the mailing. This allows you to track the further behavior of the newsletter recipients via website analysis tools such as Google Analytics, Piwik or econda. To do this, copy the tracking code of your tool into the field so that ###system_name## automatically appends it to all external links of your mailing.
The following parameters are supported:
- Freely definable parameters: utm_source=mailing&utm_campaign=sonderaktion
- Content from subscriber fields: [FIELD id='3' name='Customer number' /]
Important: Use the variant with "FIELD id" at this point, not the shorthand notation via alias. The name is optional, it only improves readability.
- Dispatch time (date and time): [DATETIME format='%d.%m.%Y'_%H:%M:%S' /]
Important:
- Mask parameter values that might contain special characters or characters like & and =: [ENCODING method='url'][FIELD id='3' name='Customer number' /][/ENCODING].
- Encrypt sensitive data: [ENCODING method='base64'][ENCRYPTION algorithm='aes-128-ecb' password='xxxxxxxx']sample text[/ENCRYPTION][/ENCODING]. The 'algorithm' parameter supports the following options:
- aes-128-ecb
- aes-192-ecb
- aes-256-ecb
- blowfish-ecb
Advanced settings: Limit and redispatch
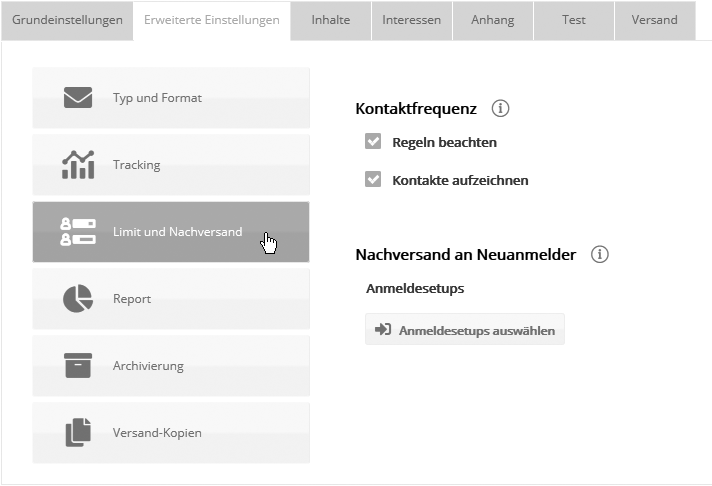
Contact frequency
The effect of the two contact frequency options is described in detail in the section 'Individual setting per mailing' as part of the topic 'Kontaktfrequenz'.
The options are only effective at this point if the contact frequency check is activated in the central menu 'Administration' --> 'Contact frequency'.
Subsequent dispatch to new registrants
If desired, you can send mailings automatically to each new subscriber as soon as they sign up using a signup setup selected here.
As soon as a new mailing with activated resend is sent, this mailing is also entered in the login setup. That means: The setting at the signup setup is permanently "synchronized" with the last mailing sent, if it had the resend function activated.
That means:
- If you always want the latest mailing to be forwarded when you sign up, activate the forwarding option when designing each mailing.
- If, however, you always want to resend a specific mailing when you sign up, do not activate the resend option in any mailing, but select the desired resend mailing directly in the sign-up setup.
Advanced settings: Report
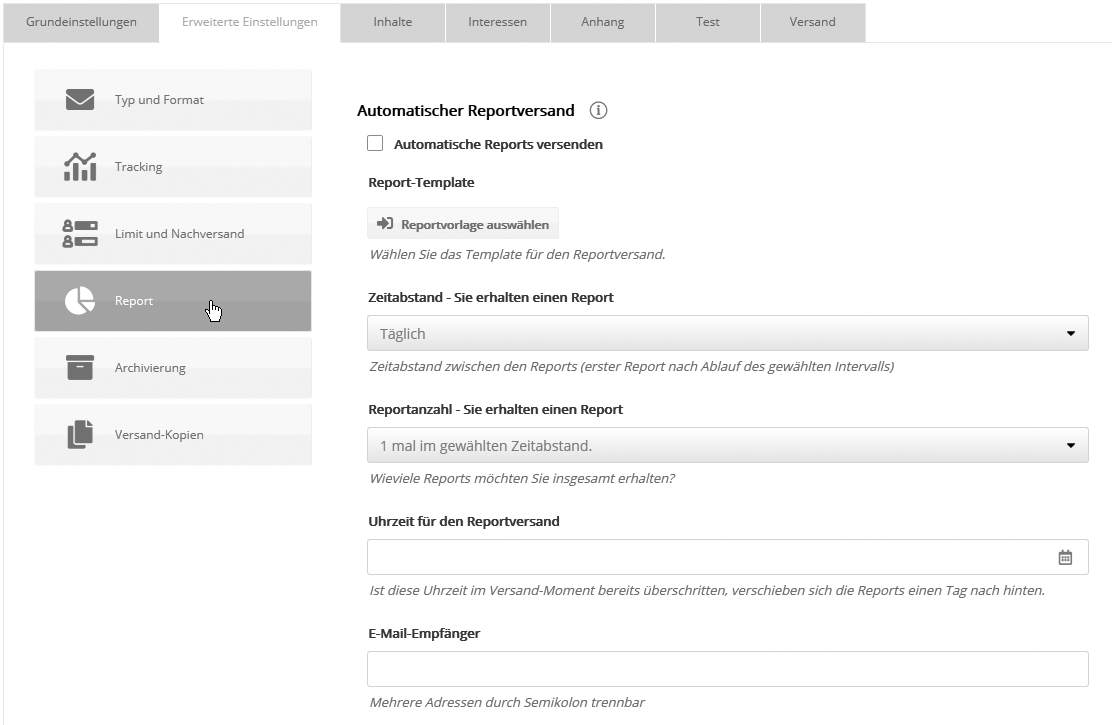
Here you determine when and how often an automatic report is sent to your email address. To do this, activate the checkbox 'Send automatic reports'. By the way, this can be done even after the email has been sent and moved to the archive.
Select the desired report template (for editing see 'Statistics' --> 'Email' --> Mailings). In the settings for Report interval and Number of repetitions you define every how many days and how often in total you want to receive the current report. Finally, select the time of delivery (time) and the email recipient of the report. To send the report to multiple recipients, enter multiple email recipients separated by comma, semicolon or space.
Advanced settings: Archiving
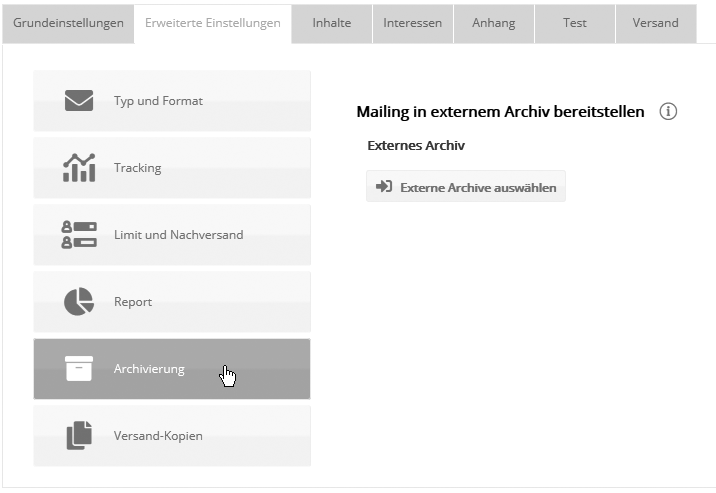
External archive
Select an external archive that has already been created, into which your mailing is to be automatically included after it has been sent. You can also assign mailings to an archive after they have been sent. (However, this is only possible if you have already created an external archive). For more information, see External archive.
Advanced settings: Shipping copies
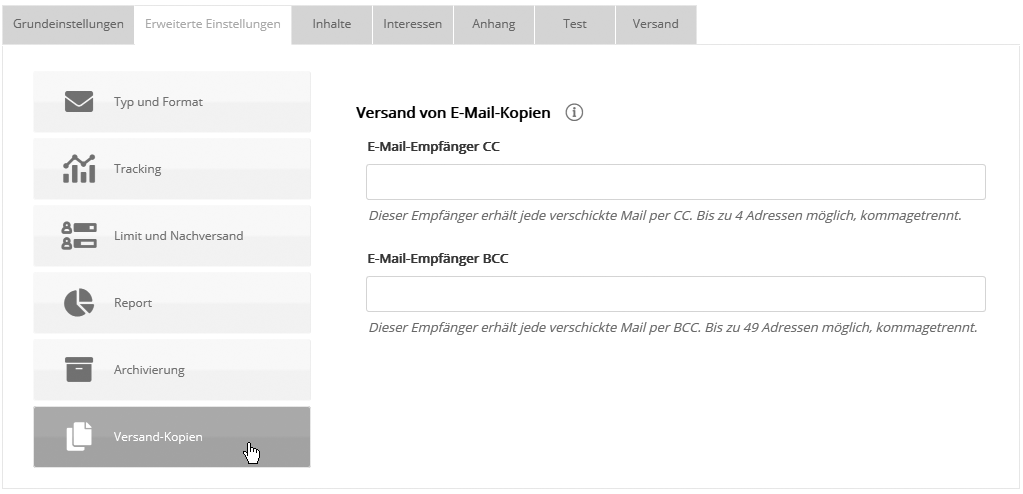
Here you can set whether and to whom a copy of each individual mailing should be sent via CC or BCC. |