Survey office
Click 'create new survey' and a popup will be open. Enter a name and an optional description. Click 'OK' to save your settings.
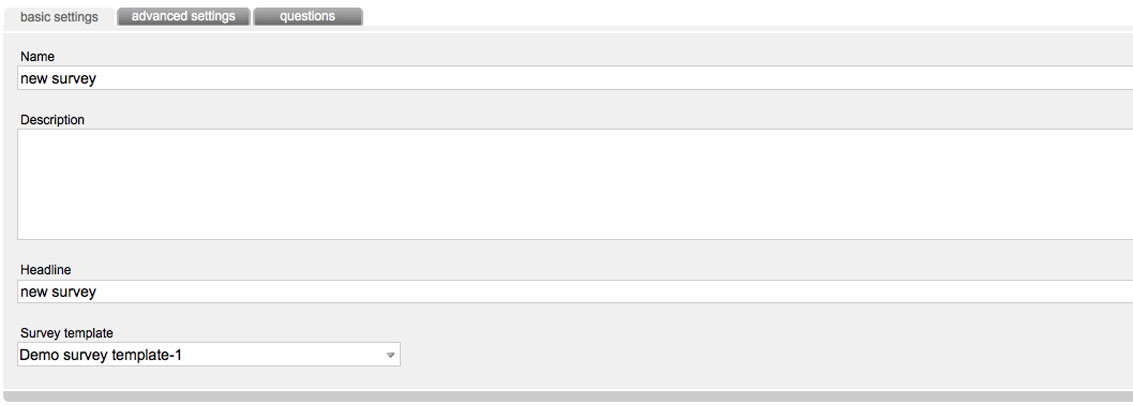
Tab basic settings
Enter a name, description, headline and a template of your survey here.
Tab extended settings
You can decide, if your survey should be anonymous or not. If you choose anonymous, you will get an url, which you can include on your website. If you don't choose anonymous, you won't get an url of your survey.
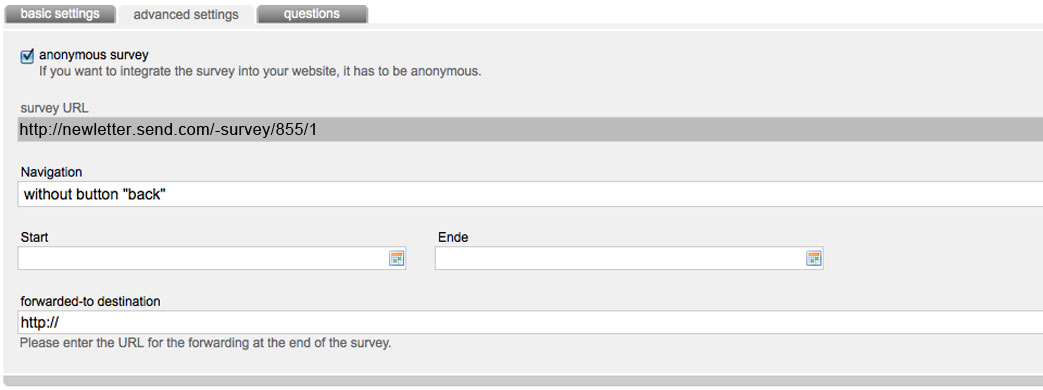
Furthermore you can create your survey with or without a back-button. Determine a starting- and ending-point through the calendar-icon. If a survey should be neverending, don't occupy those fields.
With last step you can include a forwarding url, which is called after finishing the survey.
Tab questions
To create a new question click 'add new question'. Hier werden Ihre eigentlichen Umfrageinhalte erstellt. A new popup will be open. Pictograms show you different types of questions. Select your favorite question-element and include your question into the certain textfield. Click 'OK' to save your question.
Now you can see your created question in the summary. So you just have to include your answer-possebilities. Click 'answers' to add your answers. To set more preferences use icon 'open'.
After clicking this icon, you will see the following different tabs.
Tab basic settings
You can edit or enter type, text or description of your question here.
Tab extended settings
You can convert your question into a duty-answer (tip: include a * at the end of your question-text to let the survey users know, that this is a duty-question.) Just enter a 'question code', if you want to analyse your survey with a statistic-software afterwards. Instead of the default token 'q1' you can use a short version of your question-text for presentation in csv-files. If you choose a 'subscriber-field', the answers to a question will be filled into this field. So information about your subscribers will be enhanced automatically. For this it is necessary that you have defined the response options to the question in the subscribers area.
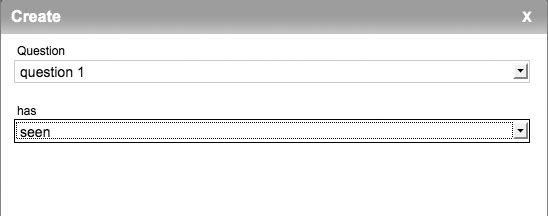
Tab display conditions
Enter displaying conditions of a question here. For example: 'If quesiton 1 was answered, show question 2.'
Tab answers
This tab is just there for the following types of questions: 'selection list', 'Radiobutton group', 'Checkbox group', 'Matrix', 'checkbox Matrix' or 'Range'. For set up answer-possebilities, enter an answer into textfield and click 'add answer'.
Just like for each question, you can also enter an 'answer code' for each response.

Please note: You can add a textfield to any answer for a free complementary response as well as linking a certain answer with an optin-setup (If a user enters a question with a certain answer, the optin-process will be started automatically). But realize, that this is just possible with question-type 'checkbox group' and 'radiobutton group'.
Now you have created your first question successfully.
If you want to place your question on a seperate site, click 'add new site'. You can sort your questions per Drag and Drop just as you like.
Click 'add new html-element' to include html-elements e.g. for placing your logo or colored elements of text.
If the creation of the survey is completed so far, you have the opportunity to test the survey. For this, use button 'simulate survey'. If you've tested your survey, you can start it.
Including your survey into a newsletter
1. Including into an html-newsletter
For this, please switch into editing-modus of your newsletter and choose tab 'html'. Set your cursor at the part, where your survey should be included. Choose your survey in tab 'Links' through the button 'input assistance'. Ideenfabrik Mailingwork includes a source-code like this:
[SURVEY id='1' name='survey']...[/SURVEY]
Afterwards you just have to enter the text, which is displayed to the user for reaching the survey, between the square brackets.
[SURVEY id='1' name='survey']Click here to compete at the survey.[/SURVEY]
Click 'save' after setting.
2. Including into a text-newsletter
For this, please switch into editing-modus of your newsletter and choose tab 'text'. After that, do same procedure like including your survey into an html-newsletter.
3. Including into a newsletter template
For this, please switch into editing-modus of your newsletter and choose tab 'content'. Afterwards you have to edit an article (or something like that). Include your survey with tab 'Links' by the help of 'input assistance'. After setting, placeholder will be included and you just have to enter your text instead of the three dots.
Save your settings by clicking 'Save'.
4. Including into own website
To link your online-survey you can use the url of your survey. For this, select your survey and switch to tab 'extended settings'. You can find your survey-url at second position from above.