Shopware 6: Installation
Setting up Ideenfabrik Mailingwork
To use the Shopware interface, the Ideenfabrik Mailingwork module "Webservice (API)" must be booked and the account permission "Webservice (API, Zapier) ⭢ HTTP request JSON response + Zapier" must be activated.
In addition, a Ideenfabrik Mailingwork user with the role authorization "Permissions modules ⭢ Webservice (API) ⭢ Use" must be set up. Shopware logs into Ideenfabrik Mailingwork with this user data. We recommend setting up a separate user for this to separate Shopware calls from other types of use.
Setting up Shopware
The plugin is installed via the Shopware online store.
Settings
Log in to the admin area of your Shopware store. Under the "Marketing ⭢ MAILINGWORK" tab, you will find all the relevant settings. You make the settings for each sales channel.
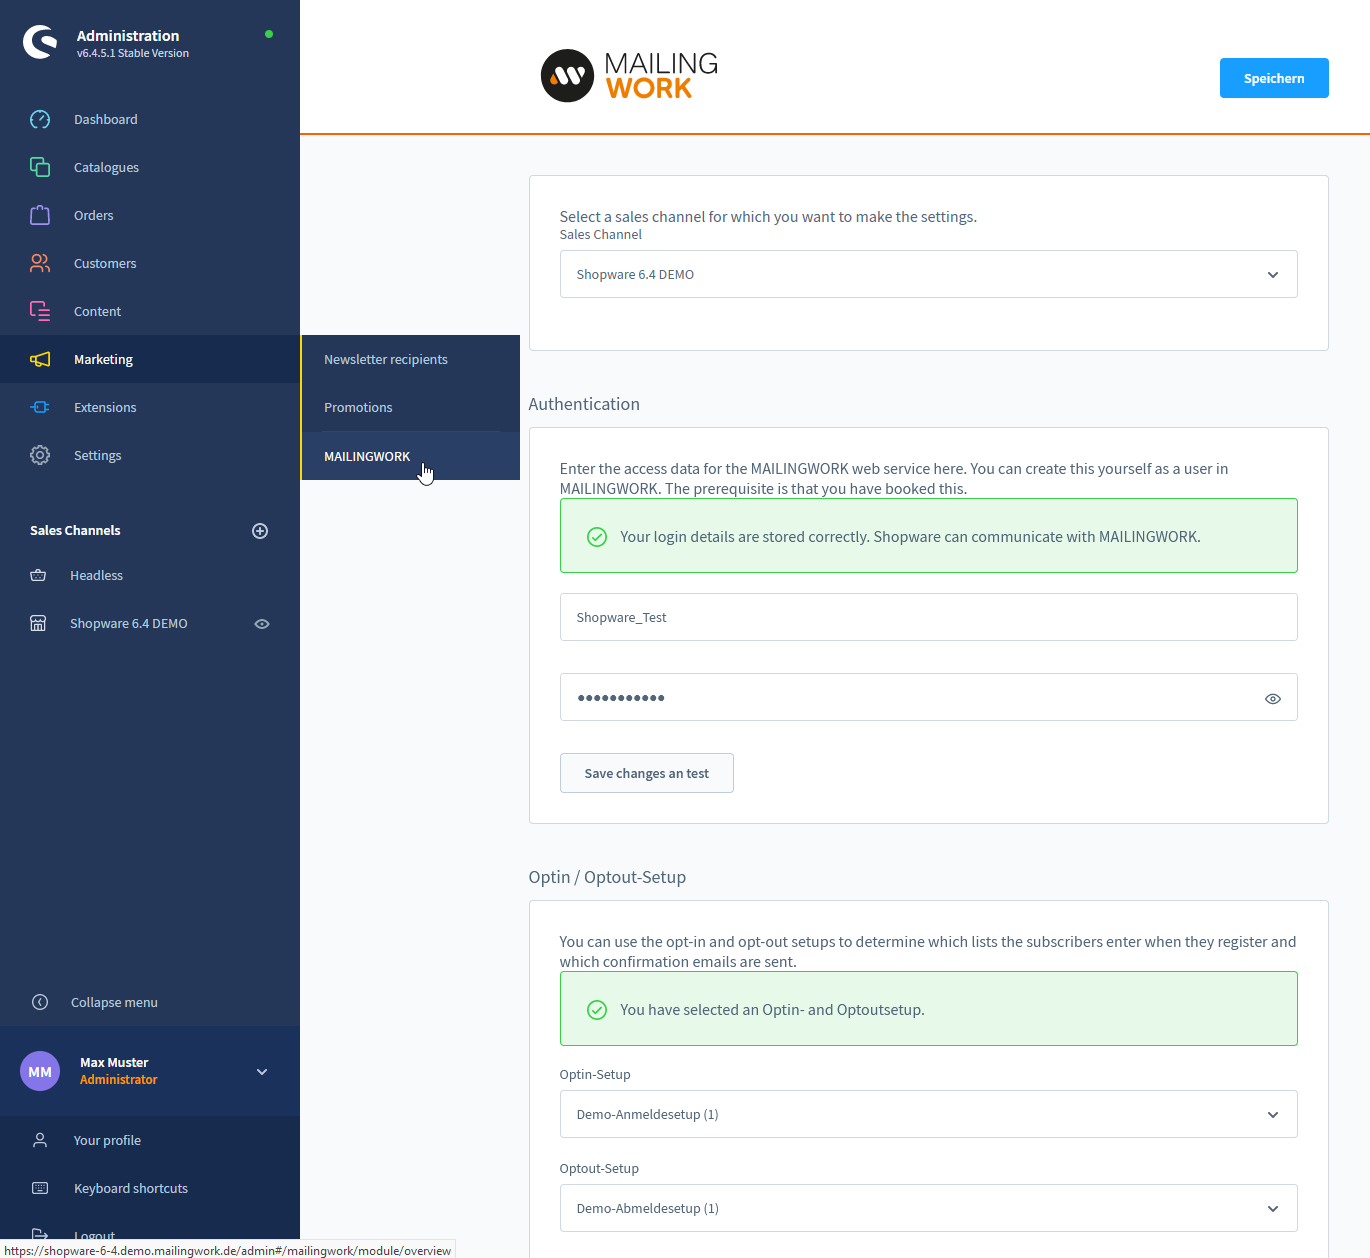
Select a sales channel. Enter the login data of the Ideenfabrik Mailingwork user. Then select a setup for opt-in and opt-out. These two setups will be used when exporting via the console as well as in the customer login profile.
In the last step, the subscriber data to be transferred must be assigned (mapped). The plugin offers all subscriber fields available in the Ideenfabrik Mailingwork account. Select the subscriber fields to be transferred.
At least the subscriber fields that were defined as mandatory fields in the Ideenfabrik Mailingwork opt-in setup must be selected.
Contents
You can integrate forms for opt-in and opt-out directly as a content element. The plugin provides its own content element "MAILINGWORK" for this purpose, which you can find under "Forms". In this, you select the SalesChannel as well as an opt-in and opt-out setup. Via the form type you can determine whether an opt-in form, an opt-out form or both should be displayed. All fields to be displayed are fetched directly from the opt-in setup from Ideenfabrik Mailingwork. Please make adjustments about the fields to be displayed in Ideenfabrik Mailingwork.